For many of us, the garage is a stark, unfinished space to park the car… or collect clutter! But it can be so much more! Here’s how one client had us transform his storage and work space into a roomy, efficient and comfortable four-season garage.
We were already doing an interior renovation for the homeowner, who decided to renovate the garage as well since he spends so much time there working on his passion — vintage cars — and also needed adequate storage for his tools.
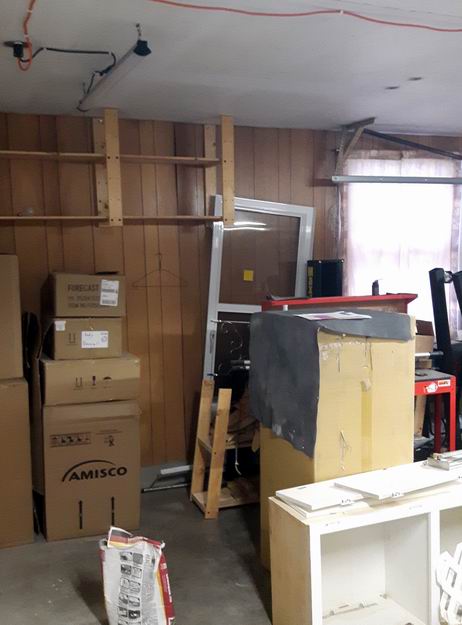 Before: The existing garage was partially finished in dated panels and not insulated. There were no adequate storage solutions or functionality for the homeowner and his vintage cars.
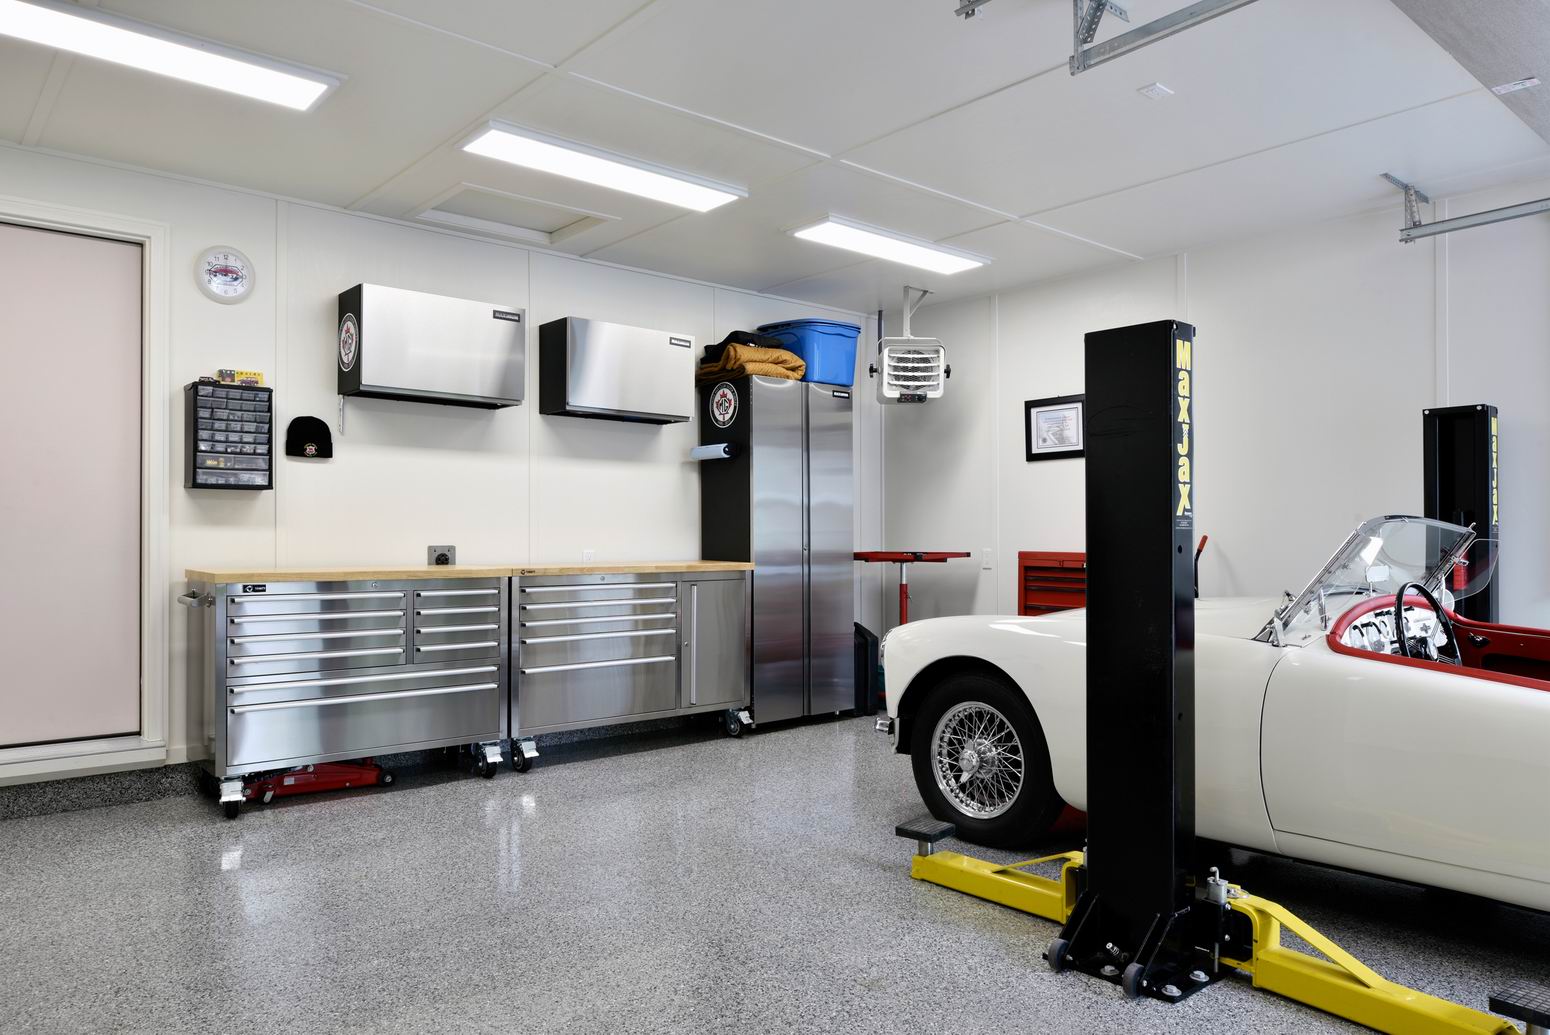 After: The garage was fully insulated to not only protect vehicles in winter, but to keep it warm and comfortable for working in low temperatures.
Wall panels were replaced with solid plywood and batten strip trim so that any type of storage system would have solid backing. This also made it easier for cars to be washed in the garage. White paint was chosen to keep the whole space looking bright and clean.
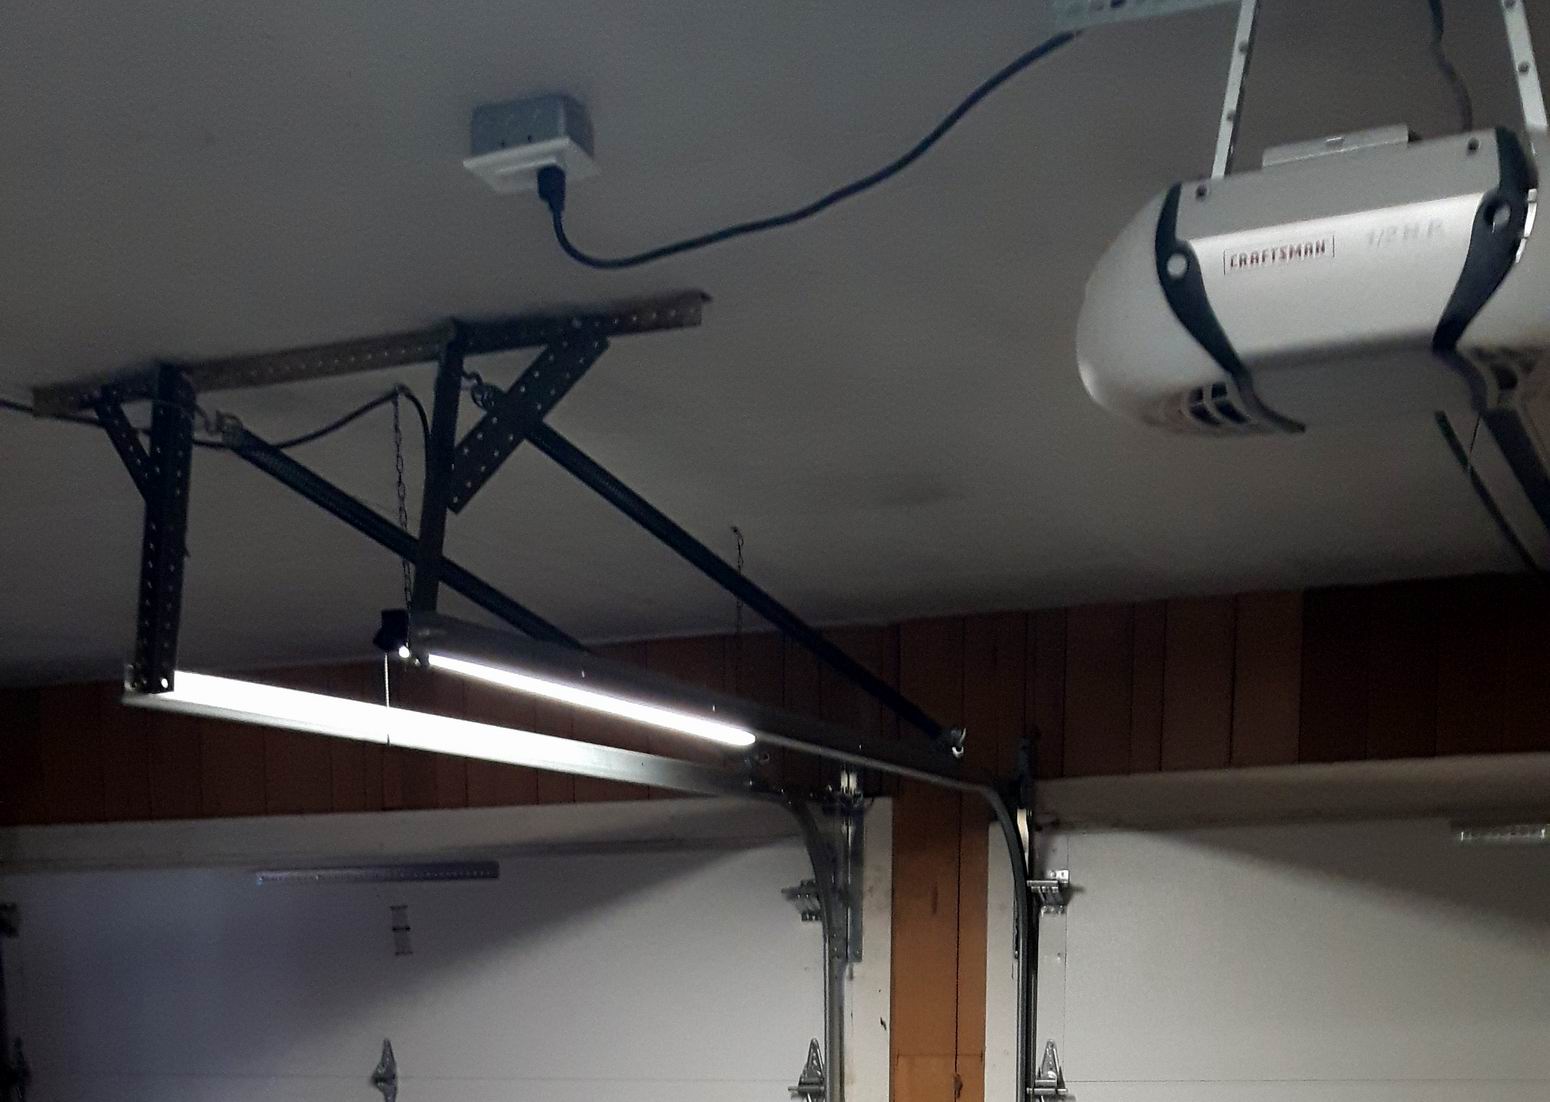 Before: The old garage doors and door system needed to be replaced. It took up needed ceiling space and was very loud and rickety.
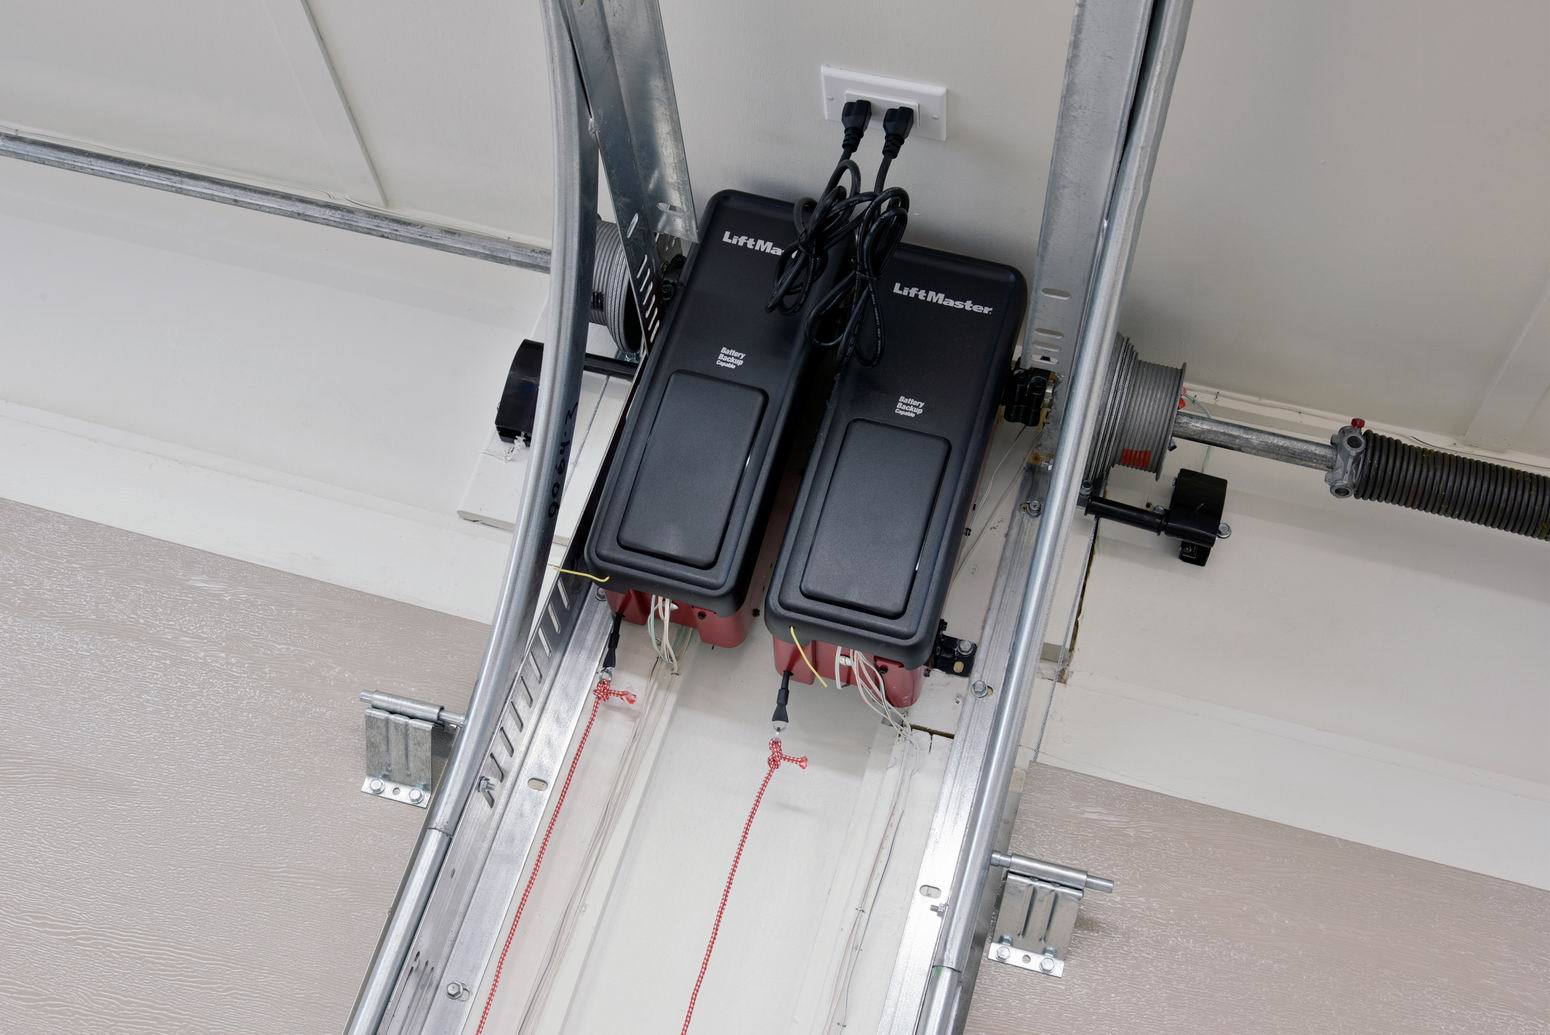 After: A new LiftMaster shaft drive door system was installed. The mechanisms sit on the wall beside the garage door so they are out of the way and the system can be wi-fi enabled.
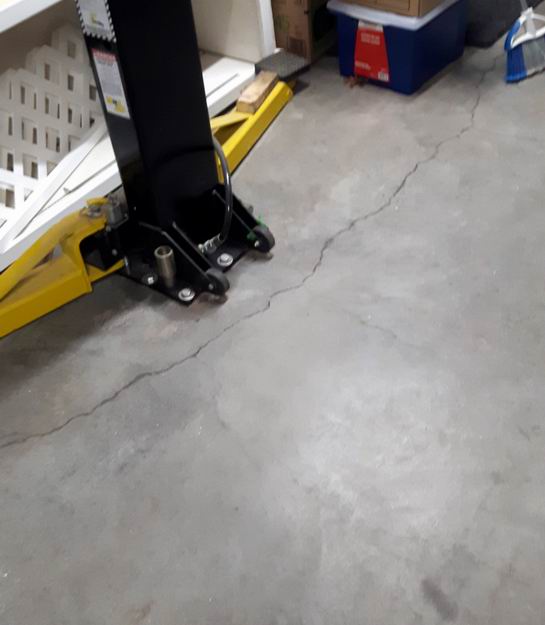 Before: The floor was a poured cement that was cracked and in need of repair.
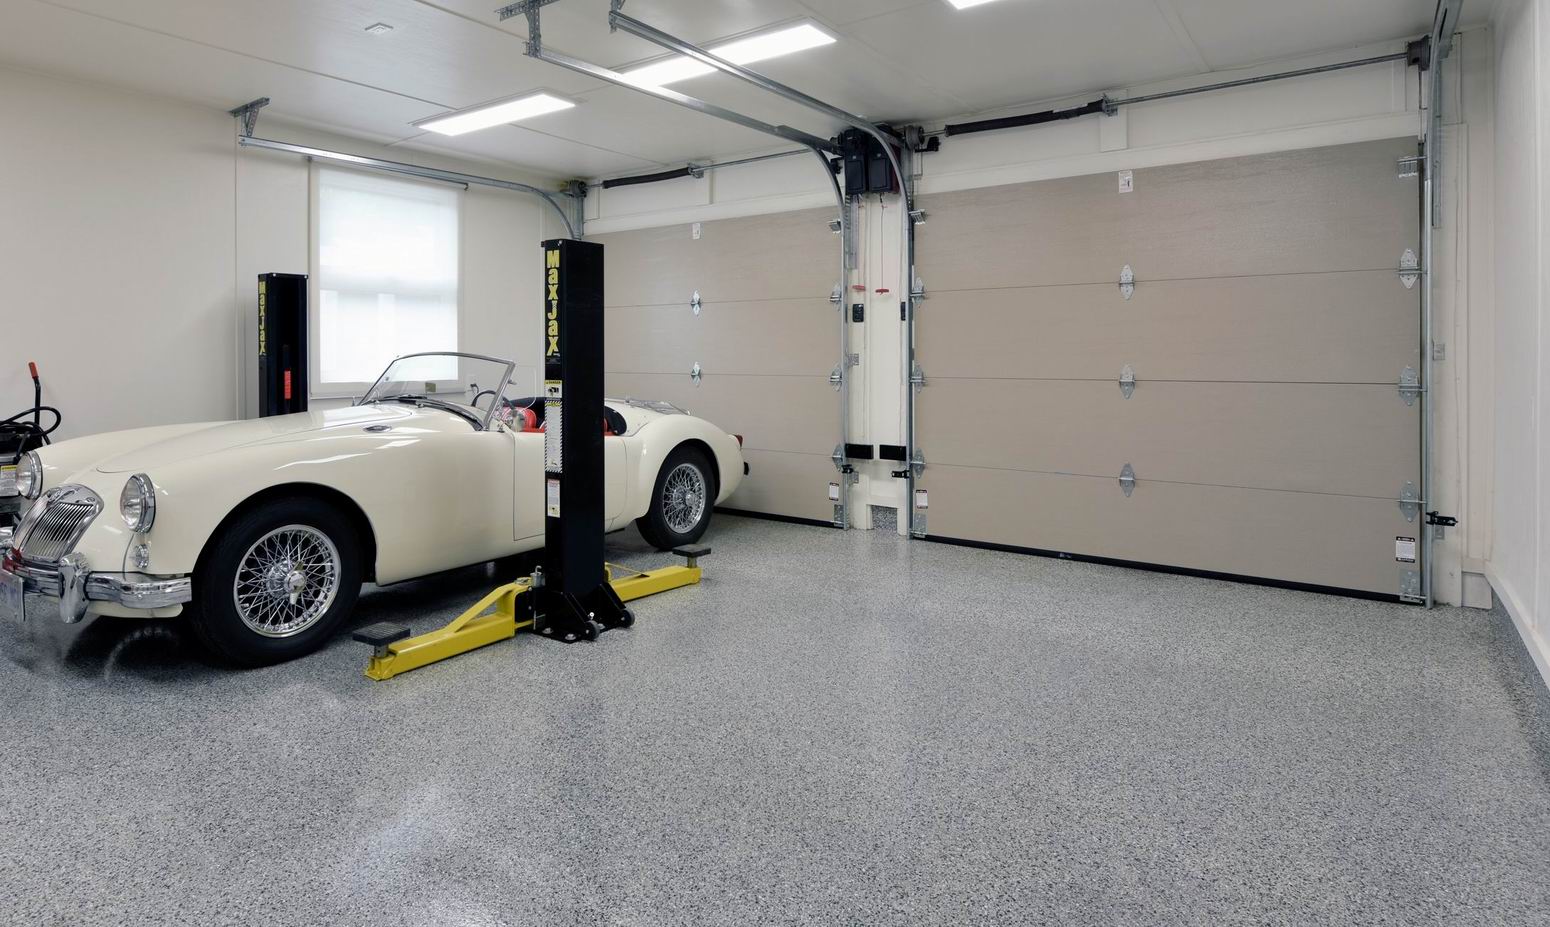 After: The homeowner decided to go with an epoxy coated floor. Non-slip and durable, with a stone-type look, it is water tight and covers the floor up to the trim a few inches off the floor. This also helps give the room a clean, cohesive feel.
(See the end for more on floor finishes.)
 Before: Proper storage for the homeowner’s tools and mechanical accessories was needed. The homeowner also wanted it to be of good quality and look sleek.
After: A stainless-steel storage unit with 15 drawers and a solid butcher block top ensures lots of storage while looking sturdy and stylish. The unit is on wheels so that it can be easily moved and locked into place.
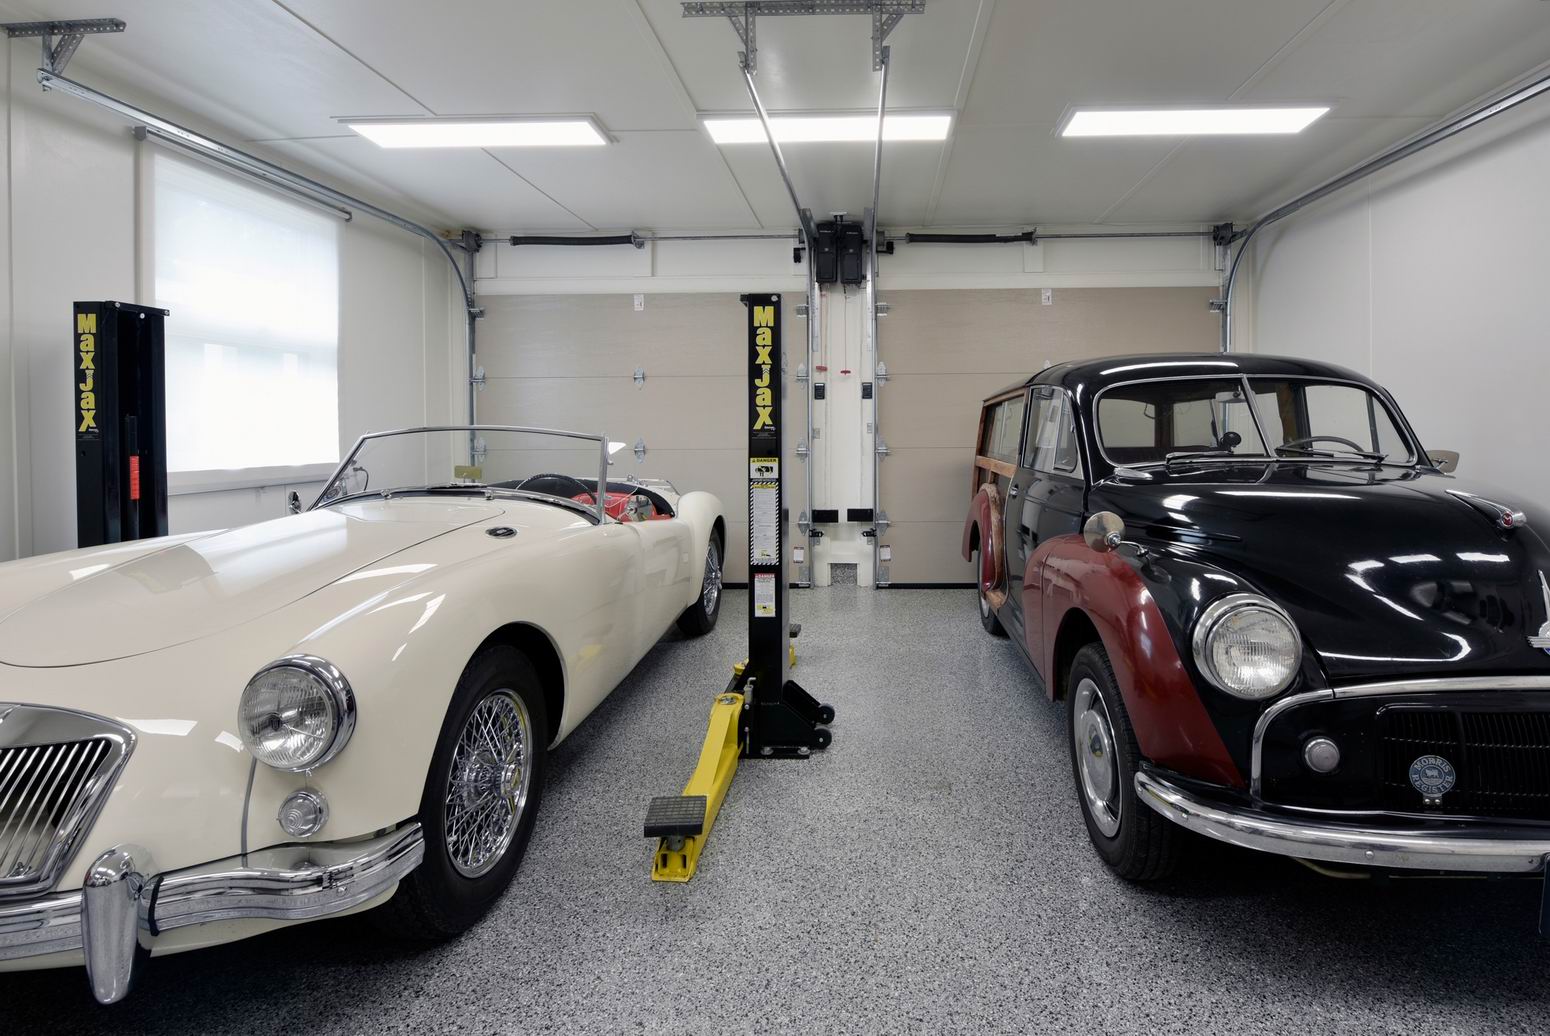 The owner’s two vehicles can now both be in the garage with lots of room to spare for hoists, tools and storage units. And the wires that were hanging from the ceiling are now built in so that the ceiling looks clean and bright. As well, a fan that can be set to blow hot or cold air was installed for added comfort in all seasons.
Overall, the homeowner now has a beautifully updated garage that is bright, clean, airy, and open. Any accessories and tools have a functional home in the space and the homeowner will be comfortable throughout all four seasons.
Floor finishes
The epoxy coating our homeowner used in this project is one way to preserve your garage floor, but it’s not the only option.
Grit, dirt, oil drips, water, snow, ice, salt — concrete garage floors can take a beating. Adding a finish to your floor not only improves the look and creates a barrier against stains and deterioration, but depending on the finish chosen, it can hide cracks and imperfections.
Generally, there are two types of finishes: coatings and coverings.
Coatings
If this will be a DIY project, coatings are usually less expensive than coverings and will protect against stains, corrosive chemicals (like road salt) and moisture. But if you do not prepare your floor properly first or you have damp concrete (where ground moisture rises through the concrete), the coating will fail.
Floor paint: Garage floor paint is simply a stronger version of wall paint, is applied with rollers and is easy to touch up. But it’s not as durable as other coatings and typically will need to be touched up every year or two.
Epoxy paint: Epoxy is usually a two-part formula that is mixed together just before applying. When done correctly, this is one of the toughest floors you can get, but it’s tricky to apply unless done by a professional.
Concrete sealers: Sealers are like floor paint, but tougher. They can come in latex/acrylic or urethane. A latex/acrylic sealer is not as tough as urethane, but will bond to the concrete better than urethane. Acrylic sealers are sometimes used as a primer for epoxy, while urethane sealers are often used as a seal coat over epoxy or concrete stain.
Coverings
The advantage of coverings is how fast and easy they are to use, with minimal prep. They do a good job of hiding cracks and other imperfections and can be used on damp concrete. The disadvantage is that they are usually much more expensive than coatings.
Interlocking flexible tiles: Slip resistant and soft underfoot, they come in many patterns and colours to create a custom look. They do a decent job of preventing liquid seepage through seams, but like other tiles are susceptible to expansion and contraction as well as staining (although a stained or damaged tile can easily be replaced).
Rigid snap-together tiles: These tiles are made of a stiff plastic that can handle heavy loads, which is important if you use floor jacks or kickstands. They also expand and contract less than flexible tiles, are easy to clean and more chemical-resistant than softer plastic tiles. Some versions are perforated to drain spills and water.
Rollout mats: These are thick and rubbery and come in various sizes, colours and patterns. While durable and easy to install, clean and move, they can be permanently stained by hot tires and chemicals and can be slippery in snowy or icy weather. They can also be cut by things like gravel and kickstands.
